Best places to hike near me with waterfalls and scenic overlooks? Forget boring walks! Prepare for breathtaking cascades tumbling into emerald pools, panoramic vistas that’ll make your jaw drop, and hikes ranging from leisurely strolls to adrenaline-pumping adventures. We’re diving deep into finding the perfect trail for your next outdoor escape, factoring in everything from distance and difficulty to the sheer magnificence of the scenery.
Get ready to lace up those boots!
This guide tackles the quest for the ultimate hiking experience, blending practical advice with a dash of wanderlust. We’ll explore how to define “near me,” decipher waterfall types (plunge pools, anyone?), and analyze the elements that create a truly unforgettable scenic overlook. We’ll even help you navigate trail descriptions, understand difficulty levels, and discover the best resources for planning your adventure.
So, ditch the couch and prepare to be amazed!
Defining “Near Me”
So, you’re itching to hit the trail, chasing waterfalls and breathtaking views. But what exactly constitutes “near me”? It’s a question more philosophical than you might think, especially when the allure of a perfect hike is involved. The answer, dear adventurer, is surprisingly fluid, shaped by a delightful mix of hard data and personal whimsy.Defining “near me” involves a delicate balancing act between practicality and personal preference.
It’s not simply a matter of geographical distance; travel time, personal stamina, and even the current state of your vehicle’s tires play crucial roles. Imagine a stunning waterfall a mere 20 miles away, but nestled deep within a maze of unpaved roads that would take three hours to navigate in your trusty (but slightly rusty) sedan. That’s a different “near” than a slightly less spectacular cascade a 45-minute drive on a smooth highway.
Factors Influencing the Definition of “Near Me”
Distance, as we’ve hinted, is just one piece of the puzzle. Driving time is arguably more important. A 30-minute drive on a scenic byway feels vastly different than a 30-minute crawl through rush-hour traffic. Personal preferences also significantly impact the perception of distance. A seasoned hiker might consider a 2-hour drive to a challenging trail perfectly acceptable, while someone looking for a leisurely afternoon stroll might prefer something within a 15-minute radius.
Finally, accessibility plays a crucial role. A trail requiring a strenuous 2-mile hike to reach the waterfall might be deemed “too far” even if it’s geographically closer than a more accessible option.
Determining a Relevant Search Radius
Several methods can help determine a relevant search radius based on user location. A simple approach involves using mapping software and drawing a circle around the user’s location. The radius of this circle can be adjusted based on the factors discussed earlier (travel time, personal preference, accessibility). More sophisticated methods might incorporate real-time traffic data and terrain analysis to provide a more accurate estimate of travel time.
For instance, a system could consider the average speed on various road types and adjust the search radius accordingly. Imagine a system that knows the difference between a smooth highway and a winding mountain road and adjusts the search radius to reflect the extra travel time.
Prioritizing Hike Locations Based on Proximity and Accessibility
A system for prioritizing hike locations could utilize a weighted scoring system. Proximity could be scored based on straight-line distance, travel time, or a combination of both. Accessibility could be scored based on factors such as trail difficulty, parking availability, and the presence of any significant obstacles. The system could then assign weights to each factor based on user preferences.
For example, a user prioritizing ease of access might assign a higher weight to accessibility, while a more adventurous user might prioritize distance and trail difficulty. This allows for a personalized ranking of potential hiking destinations, ensuring the perfect balance of challenge and convenience. The result? A curated list of waterfall hikes perfectly tailored to your individual “near me.”
Waterfall Characteristics
Waterfalls: nature’s spectacular displays of gravity-defying artistry. From gentle cascades to thunderous plunges, these watery wonders offer a diverse range of visual experiences, each with its own unique personality and geological backstory. Let’s delve into the fascinating world of waterfall types and their captivating features.Waterfall Types and Their Visual Appeal
Categorizing Waterfalls by Form
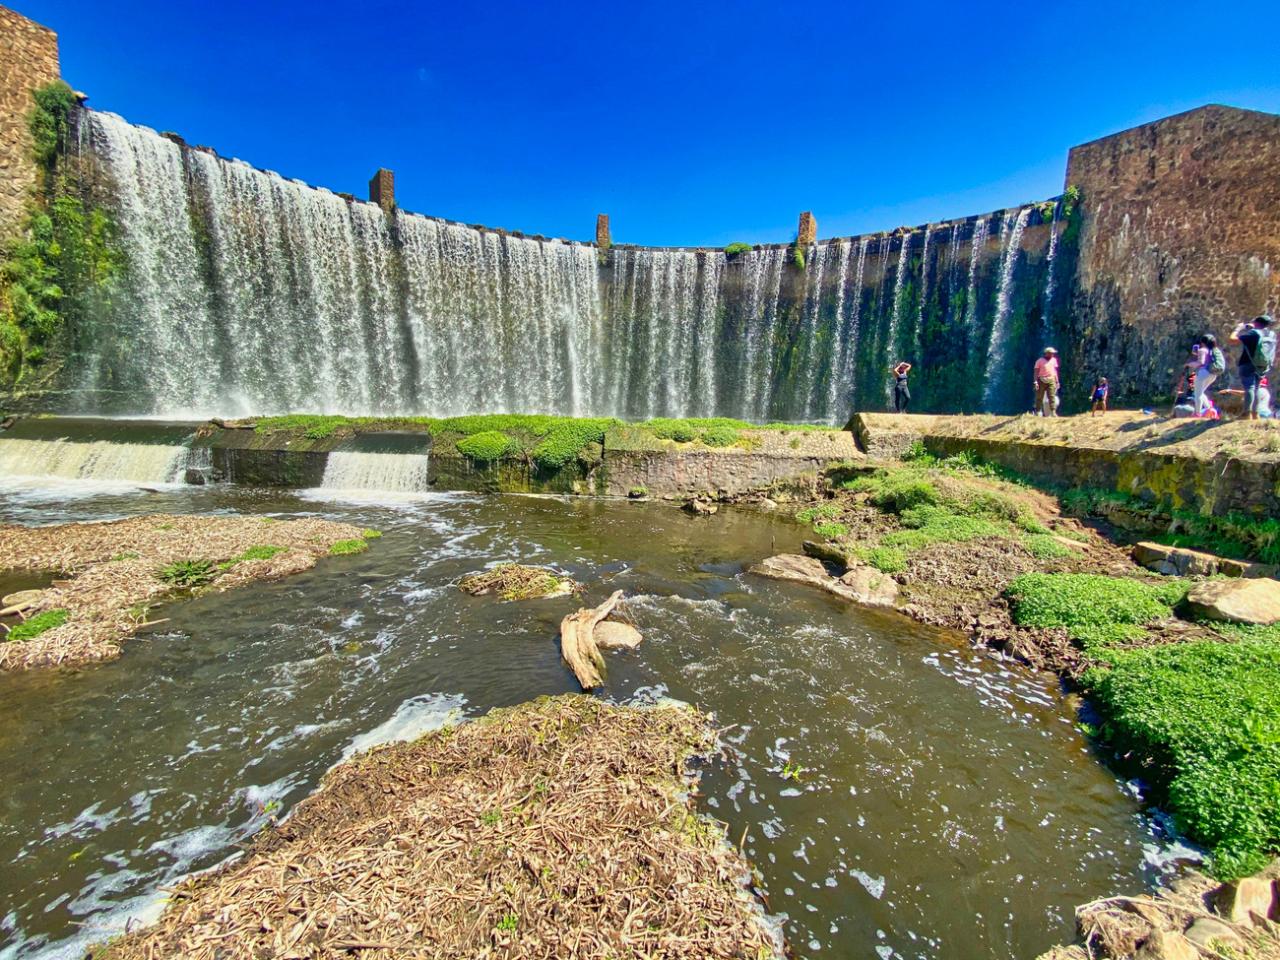
Waterfalls aren’t all created equal. Their classification depends largely on the way the water descends. A cascade, for instance, is a series of smaller drops over a rocky surface, creating a frothy, almost ethereal effect. Imagine a shimmering curtain of water, delicately draped over a hillside. In contrast, a plunge waterfall is a single, dramatic drop, a sheer plunge of water into a pool below.
Think Niagara Falls – a breathtaking spectacle of raw power and volume. Tiered waterfalls, also known as stepped waterfalls, are a combination of both, featuring a series of distinct drops creating a multi-layered cascade of visual interest. Each type offers a unique visual experience, reflecting the geological formations that shaped them.
Unique Waterfall Formations and Geological Features
Beyond the basic types, waterfalls showcase a stunning array of unique formations. Some waterfalls are sculpted by erosion into horseshoe shapes, like the iconic Horseshoe Falls at Niagara. Others might feature pot holes – deep, circular depressions carved into the bedrock by the swirling action of water and sediment. The color of the water itself can be a significant visual element, ranging from the crystal-clear turquoise of some mountain streams to the milky white of waterfalls carrying significant sediment.
These variations depend on factors such as the rock type, mineral content, and the surrounding vegetation. For example, some waterfalls may exhibit a distinct orange hue due to the presence of iron oxide in the surrounding rocks.
Comparing Waterfalls Based on Height, Flow Rate, and Scenic Impact
Let’s consider three iconic waterfalls for comparison: Niagara Falls (Canada/USA), Angel Falls (Venezuela), and Yosemite Falls (USA). Niagara Falls, though not the tallest, boasts an immense flow rate and a wide, powerful cascade, creating a truly awe-inspiring spectacle. Angel Falls, the world’s tallest uninterrupted waterfall, is a slender, almost delicate plunge, showcasing a sheer drop of immense height. Yosemite Falls, a tiered waterfall, offers a multi-layered visual experience with a combination of plunge and cascade elements, set against the dramatic backdrop of Yosemite Valley.
While height and flow rate are measurable factors, the overall scenic impact also depends on the surrounding environment, including the vegetation, rock formations, and overall landscape. The combination of these elements creates the unique character of each waterfall.
Scenic Overlook Attributes: Best Places To Hike Near Me With Waterfalls And Scenic Overlooks
A scenic overlook isn’t just a place to stand; it’s a portal to breathtaking vistas, a stage for nature’s grandest performances. It’s where the ordinary becomes extraordinary, where a simple glance transforms into an awe-inspiring experience. The elements that contribute to this magic are surprisingly multifaceted, a delightful blend of perspective, panorama, and plain old good luck in finding the perfect spot.The beauty of a scenic overlook hinges on the interplay of several key components.
First and foremost is the
- view* itself. Is it a sweeping panorama of rolling hills, a dramatic vista of a plunging canyon, or the intimate beauty of a secluded valley? The quality of the view is paramount, but it’s not just about what you see; it’s about
- how* you see it. The
- vantage point* is crucial – a well-placed overlook allows you to take in the scene in its entirety, framing the landscape like a masterpiece. The surrounding landscape also plays a significant role. A lush forest framing a mountain view adds depth and richness, while a rocky outcrop enhances the dramatic effect. The interplay of these elements creates a unique and unforgettable experience.
Types of Scenic Overlooks
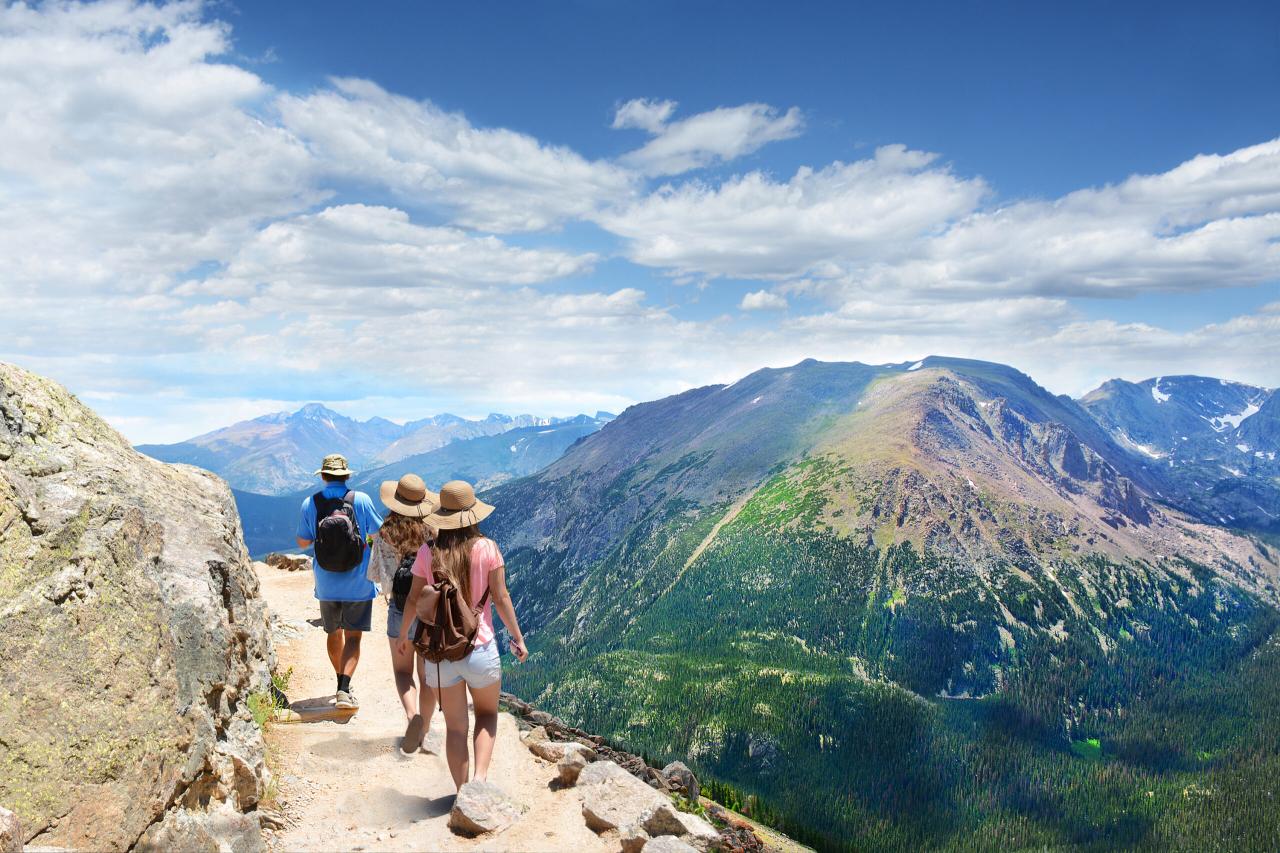
Scenic overlooks come in many flavors, each offering a unique perspective on the surrounding landscape. Cliffside overlooks offer a thrilling, edge-of-your-seat experience, providing a dramatic perspective on the world below. Mountaintop overlooks, on the other hand, offer a panoramic view, a bird’s-eye perspective that allows you to grasp the scale and grandeur of the natural world. Valley viewpoints offer a different kind of beauty, showcasing the serene tranquility of a valley floor, nestled between towering peaks.
Each type provides a different, equally compelling experience.
| Overlook Type | Best Features | Accessibility | Potential Hazards |
|---|---|---|---|
| Cliffside | Dramatic views, sense of height and adventure | Often challenging, may require scrambling or hiking | Falls, exposure to the elements, potential for vertigo |
| Mountaintop | Panoramic views, sense of accomplishment, often 360-degree vistas | Usually strenuous hike required, potentially long distances | Altitude sickness, steep inclines, unpredictable weather |
| Valley Viewpoint | Tranquil views, often lush vegetation, sense of peace | Generally easier access, often near roads or trails | Limited visibility in some cases (e.g., fog), potential for wildlife encounters |
| Ridgetop | Long-range views, often showcasing diverse landscapes (mountains, forests, plains), sense of expansiveness | Accessibility varies greatly depending on the specific location, ranging from easy access roads to challenging hikes | Exposure to the elements (wind, sun, rain), potential for wildlife encounters, steep drop-offs |
Hike Difficulty and Accessibility
Choosing the perfect hike involves more than just stunning views; it’s about matching the trail’s challenge to your personal capabilities. Failing to do so can turn a scenic adventure into a grueling ordeal (or worse!). Let’s break down how to assess a hike’s difficulty and ensure everyone can enjoy the journey.Hike difficulty is typically categorized into three levels: easy, moderate, and strenuous.
These classifications consider factors like elevation gain, trail length, terrain type (smooth paths versus rocky scrambles), and overall exertion required. While these categories are helpful, individual fitness levels and experience significantly influence the perceived difficulty.
Hike Difficulty Levels and Their Criteria
Easy hikes are generally characterized by relatively flat terrain, minimal elevation changes, well-maintained trails, and short distances. Think leisurely strolls through a park or along a paved riverside path. These hikes are perfect for families with young children, older adults, or anyone looking for a relaxing outdoor experience. A good example might be a 2-mile loop trail with less than 100 feet of elevation gain, featuring a mostly smooth, well-marked path.Moderate hikes involve a bit more challenge.
They may include some elevation gain, slightly uneven terrain, and longer distances. Expect some uphill climbs and potentially some rocky sections, but nothing too extreme. A moderate hike could be a 5-mile trail with 500-1000 feet of elevation gain, possibly with some rocky patches or slightly steeper inclines. These hikes are suitable for individuals with average fitness levels and some hiking experience.Strenuous hikes are designed for experienced hikers in excellent physical condition.
They typically feature significant elevation gain, steep inclines, uneven or challenging terrain (think rocky climbs, stream crossings, or dense undergrowth), and considerable distances. These hikes often require specialized gear and a high level of endurance. An example might be a 10-mile trail with over 2000 feet of elevation gain, including significant rock scrambling and potentially exposed sections.
Obtain recommendations related to nearby parks with paved walking paths and nature that can assist you today.
Underestimating the difficulty of a strenuous hike can lead to serious safety concerns.
You also will receive the benefits of visiting scenic walking trails near me with dog-friendly options today.
Accessibility Considerations for Hikers with Different Physical Abilities
Accessibility is paramount for ensuring that everyone can experience the joy of hiking. Trail descriptions should clearly indicate accessibility features, or lack thereof. This includes specifying whether a trail is wheelchair accessible, has paved surfaces, features gentle inclines, or has significant obstacles like steps, uneven terrain, or narrow pathways. Many trails may be partially accessible, meaning certain sections might be challenging for individuals with mobility limitations.
Always check official trail descriptions and reviews for detailed information regarding accessibility. Some organizations provide detailed accessibility information, such as AllTrails, which allows users to filter trails based on accessibility features. Furthermore, some parks provide alternative routes or accessible viewing points for those who may not be able to complete the full trail.
Presenting Hike Difficulty Information Clearly and Concisely, Best places to hike near me with waterfalls and scenic overlooks
Clear and concise communication of hike difficulty is crucial. Instead of vague descriptions, use a standardized system, like the easy/moderate/strenuous categorization discussed earlier. Provide specific details, such as trail length, elevation gain, and terrain type. For example, “Moderate, 4 miles, 800 ft elevation gain, mostly well-maintained trail with some rocky sections.” This gives potential hikers a much clearer understanding of what to expect than a simple “moderate” rating alone.
Including visual aids like elevation profiles (a graph showing elevation changes along the trail) can further enhance understanding and aid in decision-making. Remember, clear communication ensures safety and enjoyment for all.
Trail Information and Resources
So you’ve got your hiking boots polished, your water bottle filled (with something stronger than just water, let’s be honest), and you’re ready to conquer those waterfalls and scenic overlooks. But before you bravely stride into the wilderness, a little pre-hike planning is crucial. Think of it as your pre-flight checklist, but instead of avoiding turbulence, you’re avoiding getting hopelessly lost in a thicket of thorny bushes.Knowing where to find accurate and up-to-date trail information is the difference between a triumphant hike and a “help me, I’m surrounded by squirrels” situation.
Fortunately, the digital age has gifted us with a plethora of resources, making pre-hike research far less daunting than deciphering a medieval map.
Reliable Sources for Trail Information
Finding reliable trail information is like finding a unicorn – rare, but incredibly rewarding once you do. Thankfully, unlike unicorns, these resources are readily available. Official websites maintained by national parks, state parks, and local hiking organizations are your first port of call. These sites often provide detailed trail maps, elevation profiles, and current trail conditions (crucial for knowing if that “easy” trail is currently buried under a metre of snow).
Then there are the hiking apps – AllTrails, Hiking Project, and others – which offer user-generated reviews, photos, and trail reports, providing a collective wisdom of fellow hikers. Remember, however, to always verify information from multiple sources, as user-generated content can be subjective. Finally, don’t underestimate the power of local community forums and Facebook groups dedicated to hiking in your area.
These groups are treasure troves of insider tips, trail updates, and warnings about unexpected obstacles (like rogue bears with a penchant for shiny hiking poles).
Structuring Trail Descriptions
Writing a compelling trail description isn’t about writing the next great American novel; it’s about providing hikers with the essential information they need to plan their adventure. Think of it as a well-organized shopping list, but instead of groceries, you’re listing trail details. A good trail description should clearly state the trail’s length (in miles or kilometers), the total elevation gain (a crucial factor for fitness planning), and the type of trail markers used (blazed trails, cairns, or the infamous “trust your instincts” method).
Including a concise description of the terrain (rocky, muddy, sandy) also helps hikers choose appropriate footwear and gear.
Essential Information for Trail Descriptions
Before you embark on your hike, a little preparation goes a long way. This checklist is your best friend:
- Parking Information: Location, size of parking lot (is it likely to fill up?), parking fees (if any).
- Restroom Availability: Are there restrooms at the trailhead? How far into the hike are the next available facilities?
- Safety Precautions: Mention any potential hazards (steep cliffs, river crossings, wildlife encounters). Recommend carrying a first-aid kit, notifying someone of your hiking plans, and checking weather conditions before you go.
- Trailhead Access: How to reach the trailhead (driving directions, public transportation options).
- Water Sources: Are there natural water sources along the trail? Should hikers carry all their water?
- Permits or Fees: Are any permits or fees required to hike the trail?
- Cell Service: Is cell service reliable along the trail? If not, mention this explicitly so hikers can prepare accordingly.
Visual Representation of Hikes

Painting a picture with words is the hiker’s secret weapon, transforming a simple trail description into an irresistible adventure. A well-written account can transport the reader from their armchair to the heart of the wilderness, complete with the scent of pine and the sound of rushing water. This section explores how to craft vivid descriptions that bring hiking trails to life.Descriptive language is key to creating a memorable experience for the reader.
Instead of simply stating “The trail was steep,” try “The trail climbed relentlessly, a lung-busting ascent that clawed its way up the mountainside, each step a small victory against gravity.” The difference is palpable. By using strong verbs, sensory details, and evocative imagery, we can immerse the reader in the journey.
Describing a Scenic Hike
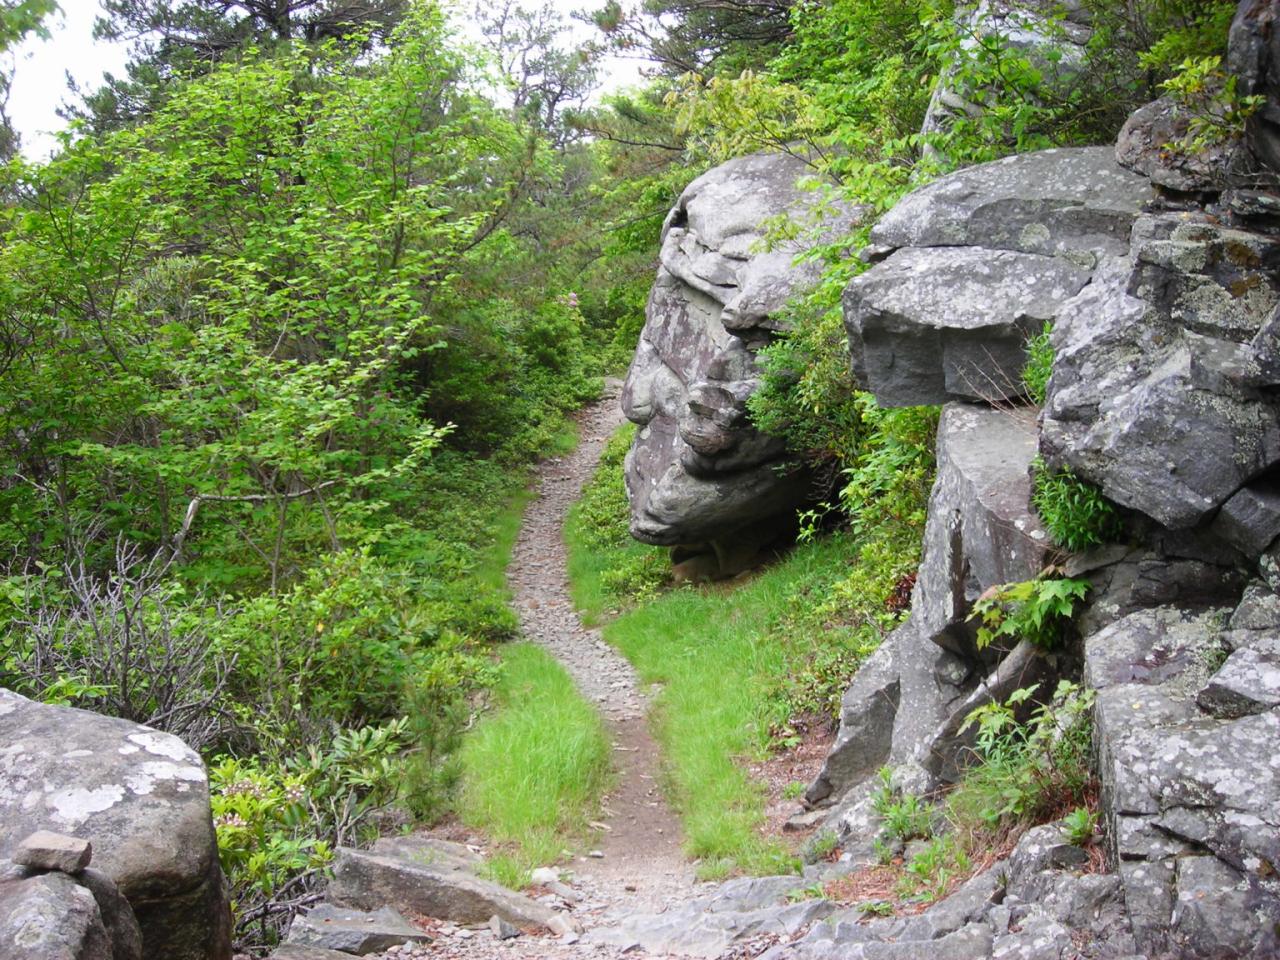
Imagine this: Sunlight filters through a canopy of ancient redwoods, dappling the forest floor in an ethereal glow. The air hangs heavy with the scent of damp earth and decaying leaves, a perfume uniquely woodland. A carpet of moss, soft as velvet, cushions your feet as you walk. Giant ferns unfurl their fronds like emerald umbrellas, providing shade from the afternoon sun.
A family of deer, their coats the color of burnt caramel, watches you from a distance, their large, gentle eyes reflecting the dappled light. The trail winds gently uphill, following a gurgling stream that tumbles over smooth, moss-covered rocks. The sound of the water is a constant companion, a soothing counterpoint to the rustle of leaves in the breeze.
Finally, you emerge from the forest onto a breathtaking overlook, a panorama of rolling hills stretching to the horizon, painted in shades of emerald green and russet brown. A waterfall cascades down the mountainside in the distance, a shimmering ribbon of white against the verdant landscape. The air is crisp and clean, carrying the scent of pine and damp earth.
Using Descriptive Language to Evoke Atmosphere
To effectively evoke the atmosphere, consider all five senses. Describe the sounds: the rush of a waterfall, the chirping of crickets, the rustling of leaves. Describe the smells: the earthy scent of the forest floor, the sweet fragrance of wildflowers, the crisp mountain air. Describe the sights: the vibrant colors of the foliage, the majestic peaks in the distance, the play of light and shadow.
Describe the textures: the smoothness of river stones, the roughness of bark, the softness of moss. And finally, describe the tastes: the refreshing coolness of a mountain spring, the tangy bite of wild berries. Use figurative language like metaphors and similes to make your descriptions more vivid and memorable. For example, instead of saying “The waterfall was tall,” say “The waterfall plunged down the cliff like a silver ribbon unraveling.”
Representing Key Trail Features Using Text
Instead of relying on images, we can create powerful mental pictures through detailed descriptions. For example, instead of an image of a waterfall, describe it as: “A thundering waterfall, a torrent of white water cascading down a sheer cliff face, its roar echoing through the canyon. The mist from its spray cooled the air, and rainbows danced in the sunlight.” For an overlook, describe the view: “From the precipice, a breathtaking panorama unfolded.
Below, a valley carpeted in emerald green stretched as far as the eye could see, dotted with the silvery ribbons of winding rivers. In the distance, jagged peaks pierced the sky, their snow-capped summits gleaming in the sun.” By focusing on sensory details and evocative language, we can paint a vivid picture in the reader’s mind that is just as compelling, if not more so, than a photograph.
User Reviews and Ratings
Harnessing the collective wisdom of the hiking community is key to building a truly useful and reliable resource. User reviews and ratings provide invaluable insights, transforming your website from a simple directory into a vibrant, dynamic platform reflecting real-world experiences. By thoughtfully collecting, displaying, and analyzing this feedback, you can create a more accurate and trustworthy guide for fellow adventurers.User reviews and ratings are collected and displayed through a variety of methods.
A simple star rating system (1-5 stars) allows for quick assessments. More detailed reviews, incorporating text, can provide richer insights into specific aspects of the hike, such as trail conditions, scenic views, and overall enjoyment. These can be displayed chronologically, sorted by rating, or filtered by other criteria (discussed below). Integrating a user profile system allows for tracking of reviews, encouraging more thoughtful and honest feedback.
Consider incorporating visual elements like photos and videos uploaded by users to enhance the review experience.
Methods for Collecting and Displaying User Reviews and Ratings
Implementing a user-friendly review submission form is crucial. This form should be easy to find on the website and should prompt users for a star rating, a written review, and possibly the option to upload photos or videos. Clear guidelines for review submission, emphasizing honesty and respectful language, should be provided. Reviews should be moderated to remove spam, inappropriate content, and potentially misleading information.
Displaying reviews can be done in several ways, such as using a carousel, a grid layout, or a simple list. Highlighting particularly helpful or insightful reviews can further enhance the user experience. For example, reviews that mention recent trail maintenance or changes in scenery could be prominently featured.
Analyzing User Feedback to Identify Trends and Improve Information Accuracy
Regular analysis of user reviews reveals patterns and trends. For example, consistent negative comments about trail erosion in a particular section could prompt an update to the trail description, alerting hikers to potential challenges. Similarly, a high number of positive reviews mentioning stunning wildflowers during a specific time of year could be used to update the seasonal information.
Analyzing the language used in reviews can also identify recurring themes. For example, if many reviews mention difficulty with navigation, this suggests a need for improved trail markers or a more detailed map. By actively monitoring and responding to user feedback, you can ensure that the information on your website remains accurate, up-to-date, and relevant.
Filtering and Sorting Reviews Based on Criteria
Allowing users to filter and sort reviews significantly enhances usability. Filters could include difficulty level (easy, moderate, hard), time of year (spring, summer, fall, winter), and specific aspects of the hike (waterfalls, scenic overlooks, etc.). Sorting options could include rating (highest to lowest), most recent, and most helpful. This empowers users to quickly find reviews relevant to their specific needs and preferences.
For example, a user planning a challenging winter hike could filter reviews to show only those submitted during winter months and rated as “hard.” This targeted approach makes the information more useful and relevant for the user.
Final Conclusion

From cascading waterfalls to breathtaking panoramas, finding the perfect nearby hike is an adventure in itself. This guide has equipped you with the tools to plan your ideal escape, whether you’re a seasoned hiker or a nature newbie. Remember to always prioritize safety, respect the environment, and embrace the unparalleled beauty of the natural world. Now go forth and conquer those trails! Happy hiking!