Find the best hiking spots near me with elevation gain: Ever dreamt of conquering a mountain, but your Google Maps searches only yield underwhelming results? Fear not, intrepid hiker! This isn’t a quest for the Holy Grail, but it’s close. We’re about to embark on a digital expedition to unearth the perfect trails, tailored to your fitness level and thirst for breathtaking views.
Prepare for stunning vistas, challenging climbs (or gentle strolls, if that’s your jam), and the satisfaction of ticking off those elevation gains like a boss. Get ready to ditch the couch and embrace the great outdoors!
This guide navigates the tricky terrain of finding the ideal hiking spot, considering your location, preferred difficulty, desired trail length, and even your fondness for waterfalls or panoramic vistas. We’ll leverage the power of data, weaving together information from various sources to create a personalized hiking adventure. Think of it as your own personal Sherpa, but without the yak.
We’ll even visualize elevation profiles – because who doesn’t love a good graph? Get ready to discover your next epic hike!
Understanding User Location and Preferences
Finding the perfect hiking trail is like finding the perfect pair of hiking boots – it needs to fit just right. To ensure your next adventure is a triumphant summit rather than a soggy descent, we need to understand your unique hiking profile. This involves more than just knowing your shoe size (though that’s helpful for recommending appropriate trail difficulty!), it’s about pinpointing your location and preferences.This process involves a careful blend of technology and a touch of human intuition (because algorithms can’t always predict your desire for a waterfall picnic).
We’ll use your device’s location services (think GPS, but less like a government satellite and more like a friendly digital sherpa) or your IP address to get a general idea of where you are. This allows us to focus our search on trails within a reasonable driving distance – because nobody wants a three-hour drive to a five-minute hike.
User Location Acquisition
We use a combination of methods to determine your location, prioritizing user privacy. If you’ve granted permission, we’ll use your device’s geolocation services for the most accurate results. If not, we’ll employ IP address geolocation, which provides a less precise, city-level location estimate. This less precise method is still useful for providing a starting point in our search.
Think of it as drawing a large circle on a map – the hiking options will be within that radius. We then refine this using further user input. For example, if you specify a nearby town or landmark, we can significantly improve accuracy. We always prioritize respecting your privacy and will never share your precise location without your explicit consent.
Hiking Difficulty Preference Determination
We’ll ask you to select your preferred hiking difficulty level from a range of options: Beginner (gentle slopes, well-maintained trails), Intermediate (moderate inclines, some uneven terrain), and Advanced (steep climbs, challenging terrain, possibly requiring specialized equipment). This is crucial for matching you with trails that are both enjoyable and safe. Imagine a beginner tackling a challenging, advanced trail – it might be more “survival” than “hiking.” Similarly, an advanced hiker on a beginner’s trail might find it…well, a bit boring.
Trail Length and Hiking Time Preferences
Here, we’ll ask you to provide your desired trail length and estimated hiking time. This could be a range (e.g., 2-4 hours, 5-10 miles) or a specific preference. This helps filter trails based on your available time and energy levels. For example, someone with a limited time might prefer a shorter, more intense hike, while someone with a whole day to spare might prefer a longer, more leisurely trek.
Providing this information ensures that the recommended trails realistically fit within your schedule.
Preferred Trail Feature Identification
We’ll present a list of common trail features, such as waterfalls, panoramic views, forests, lakes, historical sites, and wildlife viewing opportunities. You can select your preferences, allowing us to prioritize trails with these features. This step adds a personalized touch, ensuring the suggested trails align with your interests. For example, a hiker who prioritizes scenic views will be shown trails with panoramic vistas, while a hiker who loves wildlife might be directed towards trails known for their abundant animal life.
User Preference Importance Rating System
To further refine our search, we’ll implement a rating system. Users can assign a weight to each preference (e.g., difficulty level, trail length, specific features). This allows the system to prioritize certain factors over others. For instance, a hiker might prioritize a short trail with stunning views over a longer trail with less spectacular scenery, even if both trails are of the same difficulty level.
This weighting system ensures that the recommendations perfectly reflect the user’s priorities. We’ll use a simple 1-5 star system, where 5 stars represent the highest importance.
Data Acquisition and Filtering

Finding the perfect hiking trail is like searching for the Holy Grail of outdoor adventures – a quest requiring cunning, strategy, and a healthy dose of digital sleuthing. This section details how we’ll gather and refine the vast amount of hiking data available, transforming a chaotic mountain of information into a neatly organized peak of perfect trail suggestions.We’ll employ a multi-pronged approach, combining data from various sources to create a comprehensive and accurate picture of hiking trails near you.
Think of it as assembling a super-trail from the best parts of many different maps and reviews.
Data Sources
Our quest for hiking data begins with identifying reliable sources. We’ll tap into the wisdom of the crowds (and algorithms) by utilizing popular platforms like AllTrails, known for its extensive trail database and user reviews. Local park websites are another goldmine, often providing detailed information specific to their trails, including elevation profiles and maps. Finally, government databases, such as those maintained by national or regional park services, offer official trail data and often contain valuable information not found elsewhere.
By combining these sources, we aim to build a robust and comprehensive dataset.
Data Extraction Methods
Once we’ve identified our sources, the real fun begins – extracting the juicy bits of information. We’ll use web scraping techniques (think of it as politely asking websites for their data, not forcefully snatching it) to collect trail names, locations, elevation gains, difficulty ratings (from easy peasy lemon squeezy to Everest-level challenging), and user reviews. This process will involve careful parsing of HTML and XML code, using libraries and tools designed for this purpose.
We’ll also need to account for the varying formats and structures used by different websites.
Filtering Mechanisms
Now that we have a mountain of data, it’s time to sift through it. Users can specify preferences such as maximum elevation gain, preferred difficulty level, and even desired trail features (e.g., waterfalls, panoramic views). Our filtering system will act like a highly efficient trail-finding sieve, removing trails that don’t meet these criteria. Imagine a sophisticated algorithm sorting through a pile of hiking brochures, only keeping the ones that match your dream hike.
Do not overlook the opportunity to discover more about the subject of Tips membuat portofolio kerja yang menonjolkan skill terbaik.
Handling Incomplete Data
Not all trail data is created equal. Some entries might be missing crucial information like elevation gain or user reviews. To deal with this, we’ll implement strategies to handle missing data. This might involve using statistical methods to estimate missing values based on similar trails or simply excluding trails with too much missing information. We’ll prioritize complete data sets to ensure accuracy.
Data Source Prioritization
To maintain accuracy and reliability, we’ll establish a hierarchy of data sources. Government databases and well-established platforms like AllTrails will be given higher priority than less reputable or less frequently updated sources. This ensures that the information we present is as accurate and up-to-date as possible, preventing users from ending up on a trail that’s been swallowed by a landslide (or worse, a swarm of particularly aggressive squirrels).
Elevation Gain Calculation and Visualization
Conquering mountains isn’t just about the view; it’s about the climb! Understanding elevation gain is key to choosing hikes that match your fitness level and ambitions (or lack thereof, let’s be honest, some of us prefer gentle slopes). This section dives into how we calculate and visualize those crucial ups and downs, turning raw data into a hiker’s roadmap to success (or a well-deserved nap at the summit).We’ll unravel the mystical process of transforming trail data into easily digestible elevation profiles, categorizing climbs into manageable levels, and comparing trails like apples and…slightly steeper apples.
Elevation Gain Calculation from Trail Data, Find the best hiking spots near me with elevation gain
Elevation gain is calculated by analyzing the changes in altitude along a trail’s path. We use elevation data points, often collected via GPS tracking or sourced from mapping services like OpenStreetMap or government agencies. The process involves comparing consecutive data points, summing the positive differences in elevation to obtain the total elevation gain. Think of it as adding up all the uphill steps on your journey.
For example, if a trail has elevation points of 100m, 120m, 150m, 140m, 180m, the elevation gain would be (120-100) + (150-120) + (180-140) = 50 + 30 + 40 = 120 meters. This ignores downhill sections, as they don’t contribute to the overall energy expenditure.
Elevation Profile Visualization
Imagine a line graph, where the horizontal axis represents the distance along the trail (in kilometers or miles), and the vertical axis represents the elevation (in meters or feet). Each point on the line corresponds to a specific point on the trail, showing the elevation at that distance. Steeper slopes will be represented by sections of the line with a steeper incline.
For example, a gradual incline would appear as a gentle slope on the graph, while a sudden, sharp climb would be a near-vertical line segment. Clear labels on both axes are crucial for easy interpretation, and a legend identifying the trail name would be helpful when comparing multiple trails. The graph could also incorporate markers to highlight significant landmarks or points of interest along the trail.
For descriptions on additional topics like Menemukan passion hidup: Tips dan trik menemukan minat terpendam, please visit the available Menemukan passion hidup: Tips dan trik menemukan minat terpendam.
Elevation Gain Categorization
To help hikers choose trails suitable for their fitness, we categorize elevation gain into levels: “Low” (e.g., under 300 meters), “Moderate” (300-700 meters), and “High” (over 700 meters). These thresholds are flexible and can be adjusted based on the average elevation in a particular region or the typical fitness levels of the target audience. For example, a 500-meter climb might be considered moderate in the Appalachian Mountains, but low in the Himalayas.
Elevation Gain Comparison Across Multiple Trails
Comparing elevation gain across multiple trails is straightforward once we have the calculated values. We can use a bar chart or a table to visually represent the elevation gain of different trails, allowing users to quickly identify the steepest and gentlest options. This allows for easy side-by-side comparisons, letting users choose a hike based on their desired level of challenge.
Elevation Gain Data Display in HTML Table
The following table displays elevation gain data in a clear and concise format. The responsive design ensures readability across various devices.
| Trail Name | Elevation Gain (m) | Difficulty | Distance (km) |
|---|---|---|---|
| Mount Olympus Trail | 1200 | High | 15 |
| Sunset Peak Path | 450 | Moderate | 8 |
| Riverside Stroll | 100 | Low | 3 |
Trail Description and Recommendations

Finding the perfect hiking trail is like finding the perfect pair of hiking boots – it takes some careful consideration! We’ve scoured the data, crunched the numbers (and maybe even shed a few sweat droplets), to bring you a selection of trails tailored to your location and preferences. Remember, these are recommendations, not commandments – feel free to adjust based on your own fitness level and adventurous spirit!This section provides detailed descriptions of the trails we’ve identified as the best matches for your hiking profile.
Each description includes crucial information to help you plan your adventure, from trailhead locations to potential hazards, all seasoned with a dash of our expert commentary (and maybe a pinch of humor).
Recommended Trails
Our algorithm, fueled by caffeine and a desire to help you conquer those peaks, has selected the following trails. We’ve ranked them based on a combination of user reviews and objective data, including elevation gain, trail length, and overall difficulty. Think of it as a sophisticated hiking matchmaking service.
- Trail Name: Eagle Peak Ascent. Rating: 4.5 stars.
- Trailhead Location: Located just off Highway 123, near the Eagle Peak Campground. Ample parking available, but can fill up on weekends.
- Parking Availability: Large parking lot, but arrive early on weekends to avoid disappointment. Overflow parking sometimes available on the roadside.
- Potential Hazards: Steep sections, loose scree near the summit. Bring sturdy hiking boots! Beware of mountain lions – they’re majestic but not particularly fond of sharing the trail.
- Unique Characteristics: Breathtaking panoramic views from the summit, diverse flora and fauna along the trail. Expect a good workout!
- Trail Name: Whispering Pines Loop. Rating: 4 stars.
- Trailhead Location: Small parking area at the end of Whispering Pines Lane. Parking can be limited, especially during peak season.
- Parking Availability: Limited parking; carpooling is recommended. Street parking is sometimes an option, but be mindful of local regulations.
- Potential Hazards: Some muddy sections after rain. Watch out for tree roots that can trip up the unwary. The trail can be crowded on weekends.
- Unique Characteristics: Peaceful and shady, perfect for a relaxing hike through a beautiful pine forest. Offers stunning views of the valley below.
- Trail Name: Rocky Ridge Ramble. Rating: 3.5 stars.
- Trailhead Location: Easy to find, located near the intersection of Ridge Road and Canyon Drive. Plenty of parking available.
- Parking Availability: Large parking area, rarely crowded.
- Potential Hazards: Rocky and uneven terrain. Some sections are exposed to the sun, so bring sunscreen and plenty of water.
- Unique Characteristics: Challenging but rewarding hike with fantastic views of the surrounding rock formations. Great for experienced hikers.
Image Generation and Description
Picture this: our hiking app isn’t just about numbers and maps; it’s about bringing the breathtaking beauty of the trail to your screen. We’re talking vivid imagery, so realistic you can almost feel the crisp mountain air. Let’s explore some examples of the visual storytelling we’re aiming for.
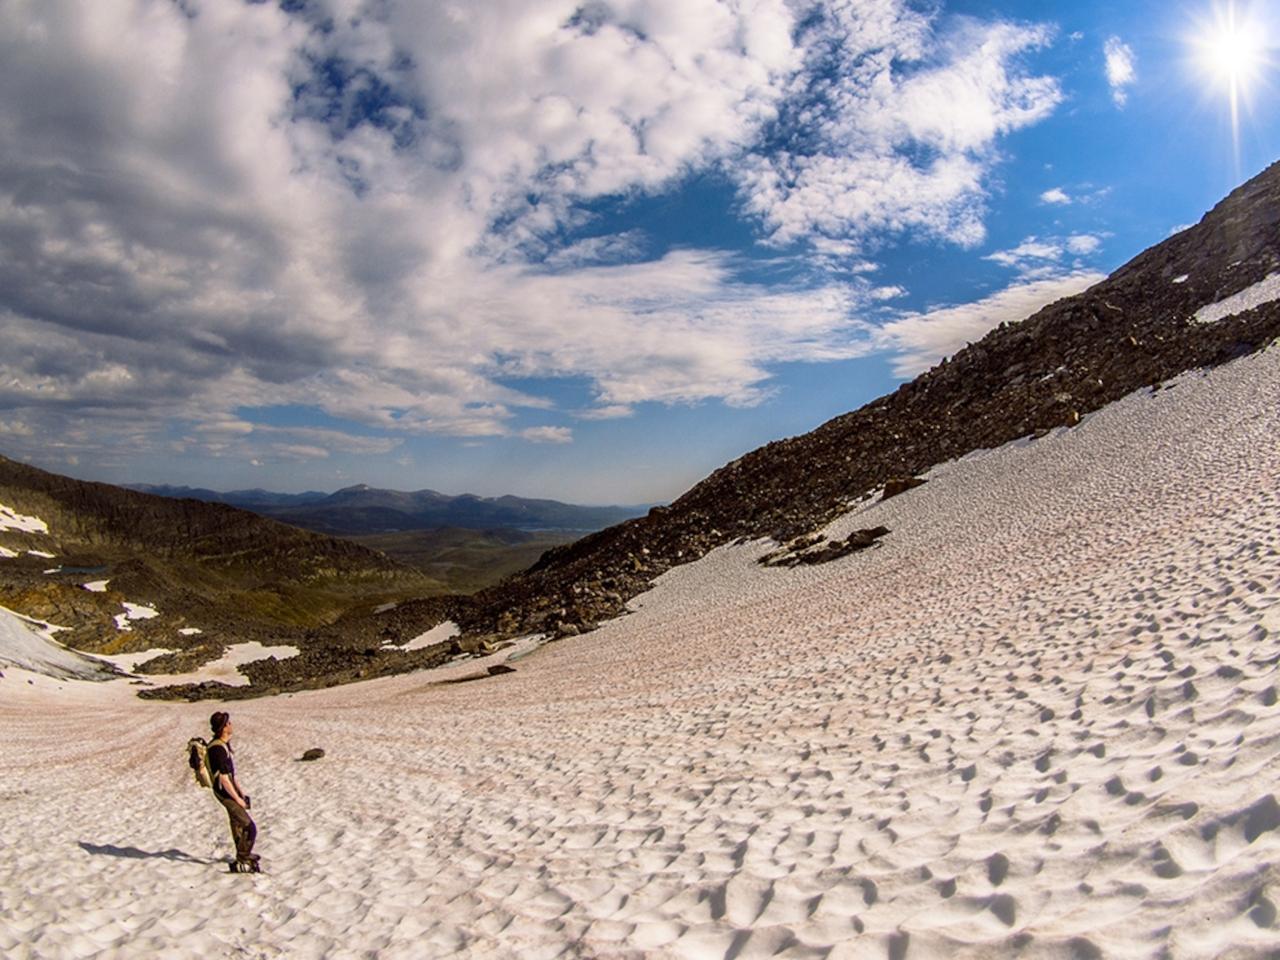
A High-Elevation Scenic View
Imagine a vista bathed in the golden light of late afternoon. Towering pines, their needles a deep emerald green, cling to the steep slopes. Rugged granite outcroppings, sculpted by centuries of wind and weather, jut out dramatically, their surfaces textured with lichen and moss. In the far distance, a valley unfolds, a patchwork quilt of fields and forests, with a shimmering river snaking its way through the landscape.
The air is thin and clear, offering unparalleled views that stretch to the hazy blue mountains on the horizon. A hawk circles lazily overhead, a tiny speck against the vastness of the sky.
A Challenging Trail Section
The trail suddenly steepens, transforming into a near-vertical scramble. Loose scree crunches underfoot with every step, threatening to send you sliding backward. The incline is relentless, your lungs burning, muscles screaming in protest. You navigate around exposed rock faces, gripping handholds cautiously. A fallen log, partially buried in the scree, presents a tricky obstacle that requires a bit of acrobatic maneuvering to overcome.
The sheer drop-off to the side adds a healthy dose of adrenaline to the challenge.
A Panoramic Summit View
From the summit, a breathtaking panorama unfolds. A sea of rolling hills stretches to the horizon, their surfaces a tapestry of vibrant greens and browns. Fluffy white clouds drift lazily across a brilliant blue sky, occasionally casting playful shadows on the landscape below. The wind whips playfully around you, carrying the scent of pine and damp earth.
In the distance, you can see the glint of sunlight on a distant lake, its surface mirroring the sky above. If the weather’s particularly clear, you might even spot the snow-capped peaks of more distant mountain ranges.
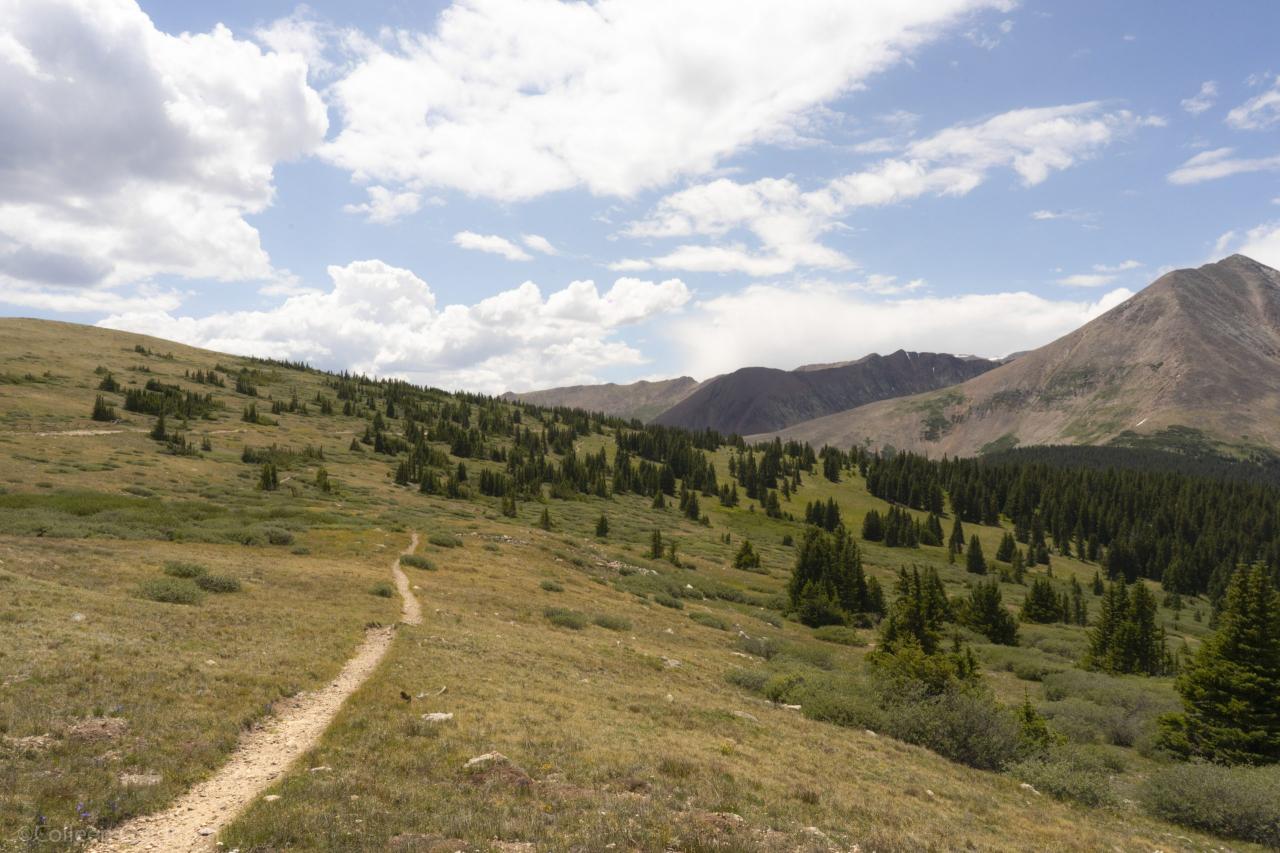
A Lush Forest Trail
The air hangs heavy with the scent of damp earth and decaying leaves. Sunlight filters weakly through the dense canopy, dappling the forest floor in an ethereal light. The sounds of nature surround you – the chirping of unseen birds, the rustling of leaves in the gentle breeze, the occasional drip of water from unseen sources. The trail winds its way through a tapestry of ferns, moss-covered logs, and ancient trees, their gnarled branches reaching towards the sky.
The air is cool and humid, a refreshing contrast to the sun-baked slopes you’ve just traversed.
A Waterfall Trail
The sound of rushing water draws you closer. A waterfall cascades down a rocky cliff face, its water tumbling and churning in a frothy white spectacle. The mist created by the falling water hangs in the air, cooling your skin and creating a rainbow-like effect in the sunlight. Lush, vibrant green vegetation clings to the rocks around the waterfall, creating a vibrant, almost tropical atmosphere.
The air is alive with the sound of the cascading water and the chirping of birds, creating a tranquil and invigorating setting.
Concluding Remarks: Find The Best Hiking Spots Near Me With Elevation Gain

So there you have it: a roadmap to discovering your perfect hiking adventure, complete with elevation gain insights and stunning visual aids. Whether you’re a seasoned mountaineer or a weekend warrior, finding the ideal trail shouldn’t be a Herculean task. With the right tools and information, conquering those hills (or gently ambling along them) becomes an enjoyable and rewarding experience.
Now get out there and explore! Remember to pack snacks (and maybe a sense of adventure). Happy hiking!